Quick Start Guide
Overview
This document (quick start guide) will walk you through the steps to install and configure theFlexy Canary Connector connector.Download
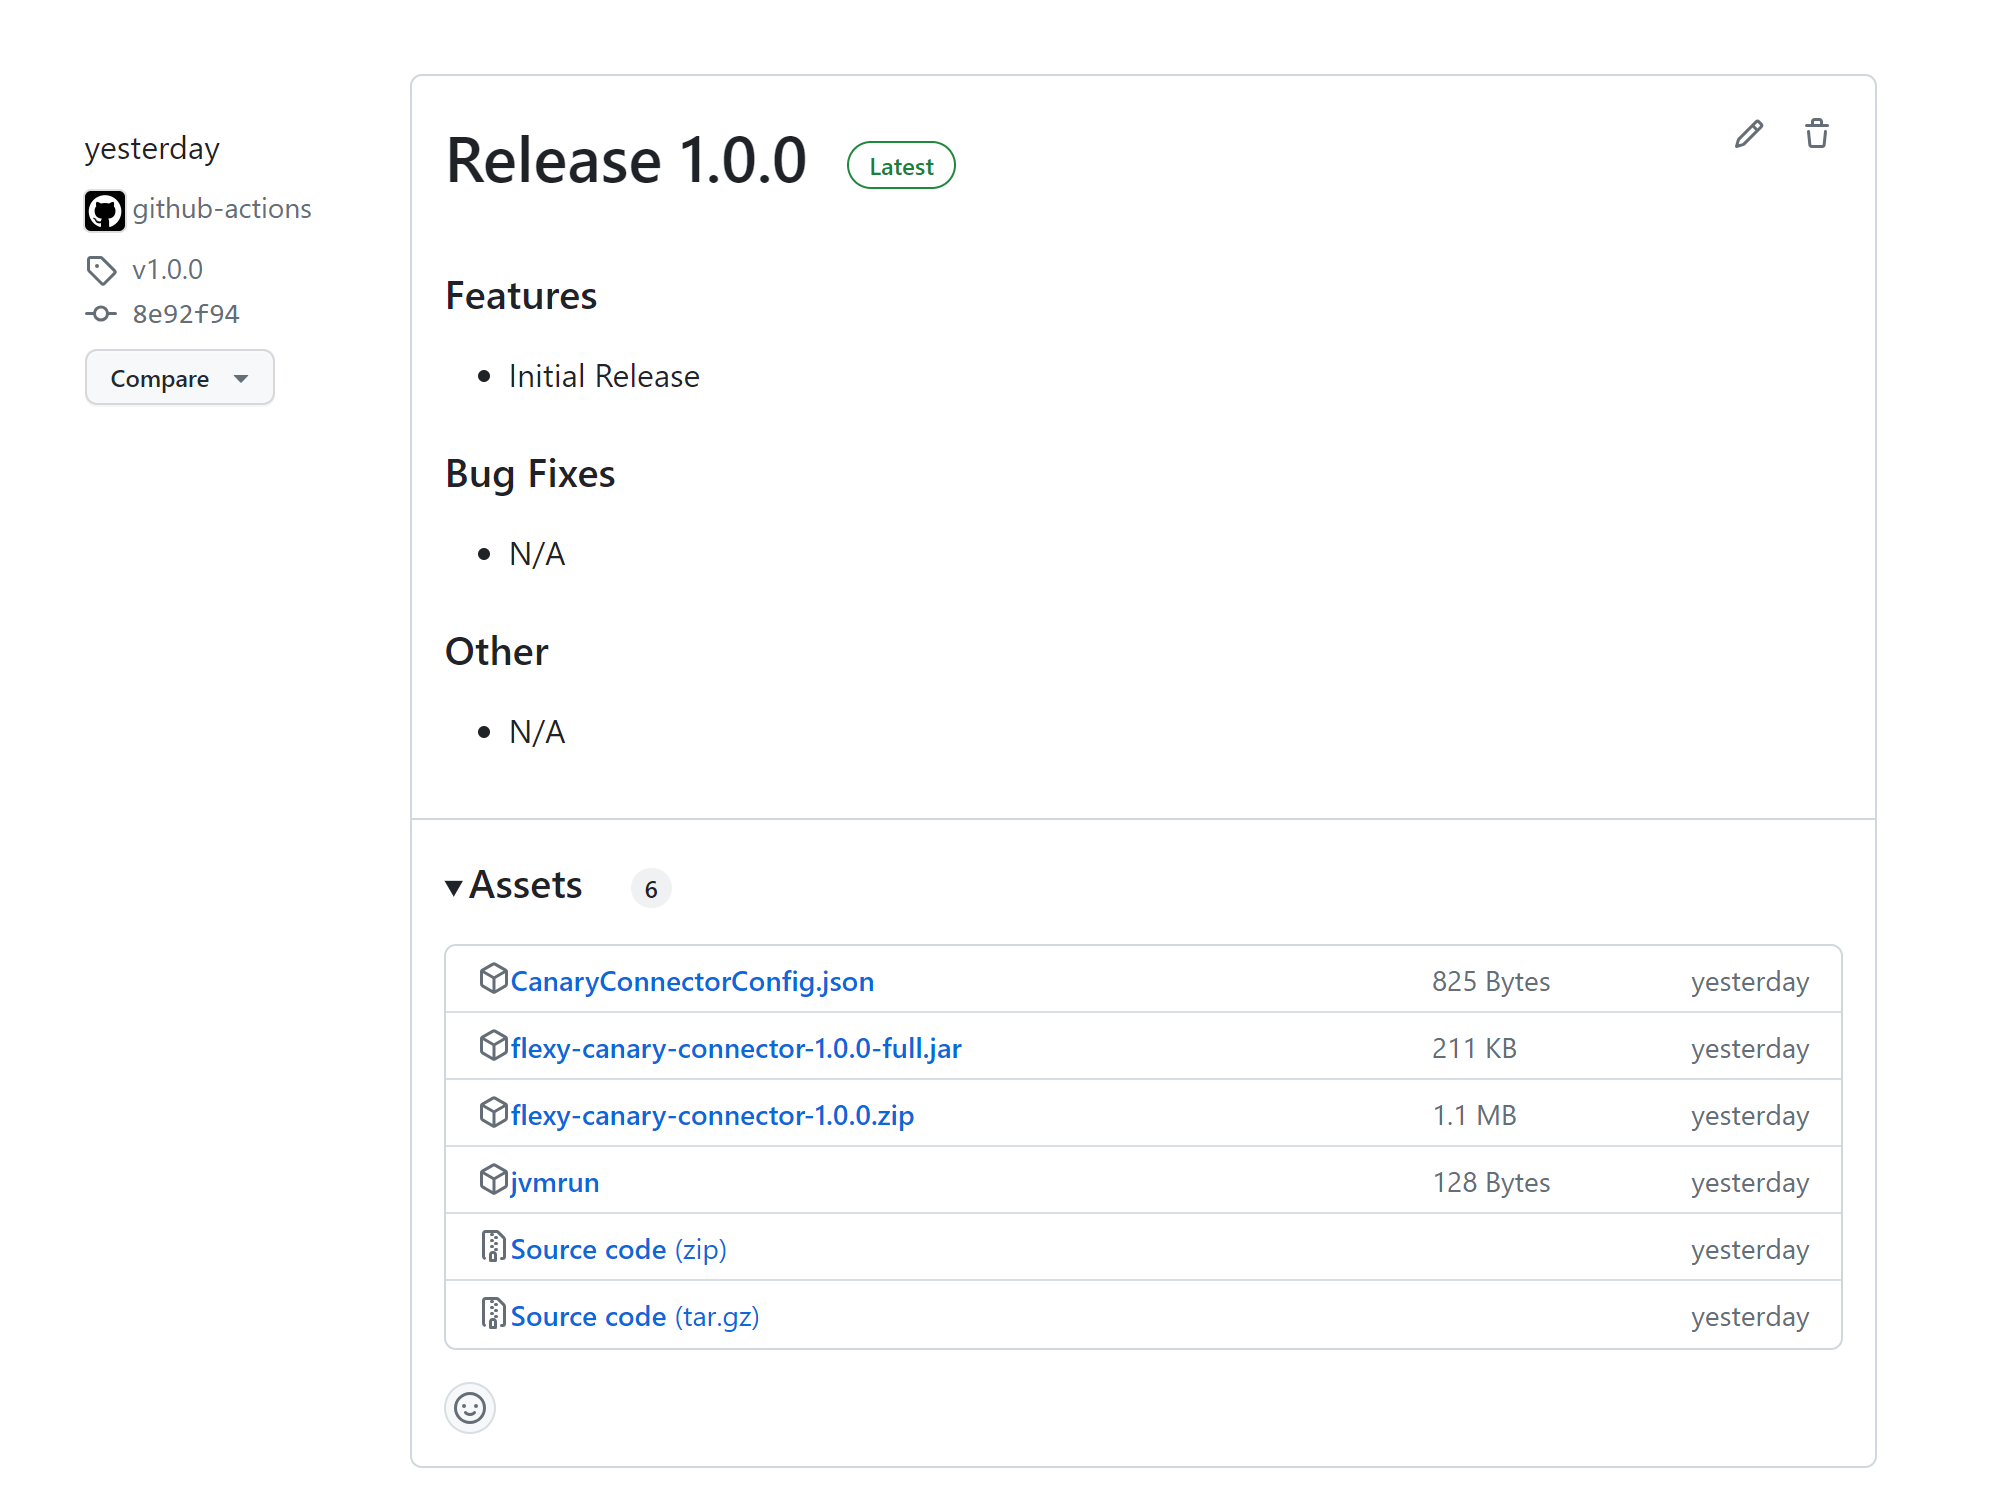
The Flexy Canary Connector connector can be downloaded by clicking the 'Download' button in the menu above (top-left corner for mobile and small devices).You may need to contact your HMS sales representative to obtain the latest version of the connector if you do not have access to the GitHub repository.
To run and install the connector, you need to download the latest asset named flexy-canary-connector-A.B.C-full.jar where A.B.C
are the connector version numbers, the jvmrun file, and the CanaryConnectorConfig.json

Installation
a. First Time Installation or Upgrade
The following steps are required for a new installation of the connector or an upgrade to a newer version.
Step 1
Open an FTP connection to the target Ewon device.
Step 2
Navigate to the /usr folder on the Ewon device's file system.
Step 3
Upload the downloaded connector files to the /usr folder.
flexy-canary-connector-A.B.C-full.jarwhere A.B.C are the connector version numbersjvmrunCanaryConnectorConfig.json
Step 3a
If you have configured the connector to use a custom certificate, you will also need to upload the certificate file (public key) to the /usr/connectorCertificates folder.
Step 4
Once the files have been uploaded, you may close the FTP connection and proceed to the next section.
b. First Time Installation Only
The following steps are only required for a new installation of the connector.
If you have not already done so, follow the steps above to install the connector and set up the Canary sender service.
Ewon Configuration
When setting up an Ewon, follow all standard Ewon Flexy documentation and installation guides. Documentation, installation guides, and more for the Ewon Flexy can be found at https://websupport.ewon.biz/support.
In addition to the standard Ewon Flexy documentation, follow these additional steps to prepare the Ewon for use with the Flexy Canary Connector.I. Setup Historical Logging for Tags
Step 1
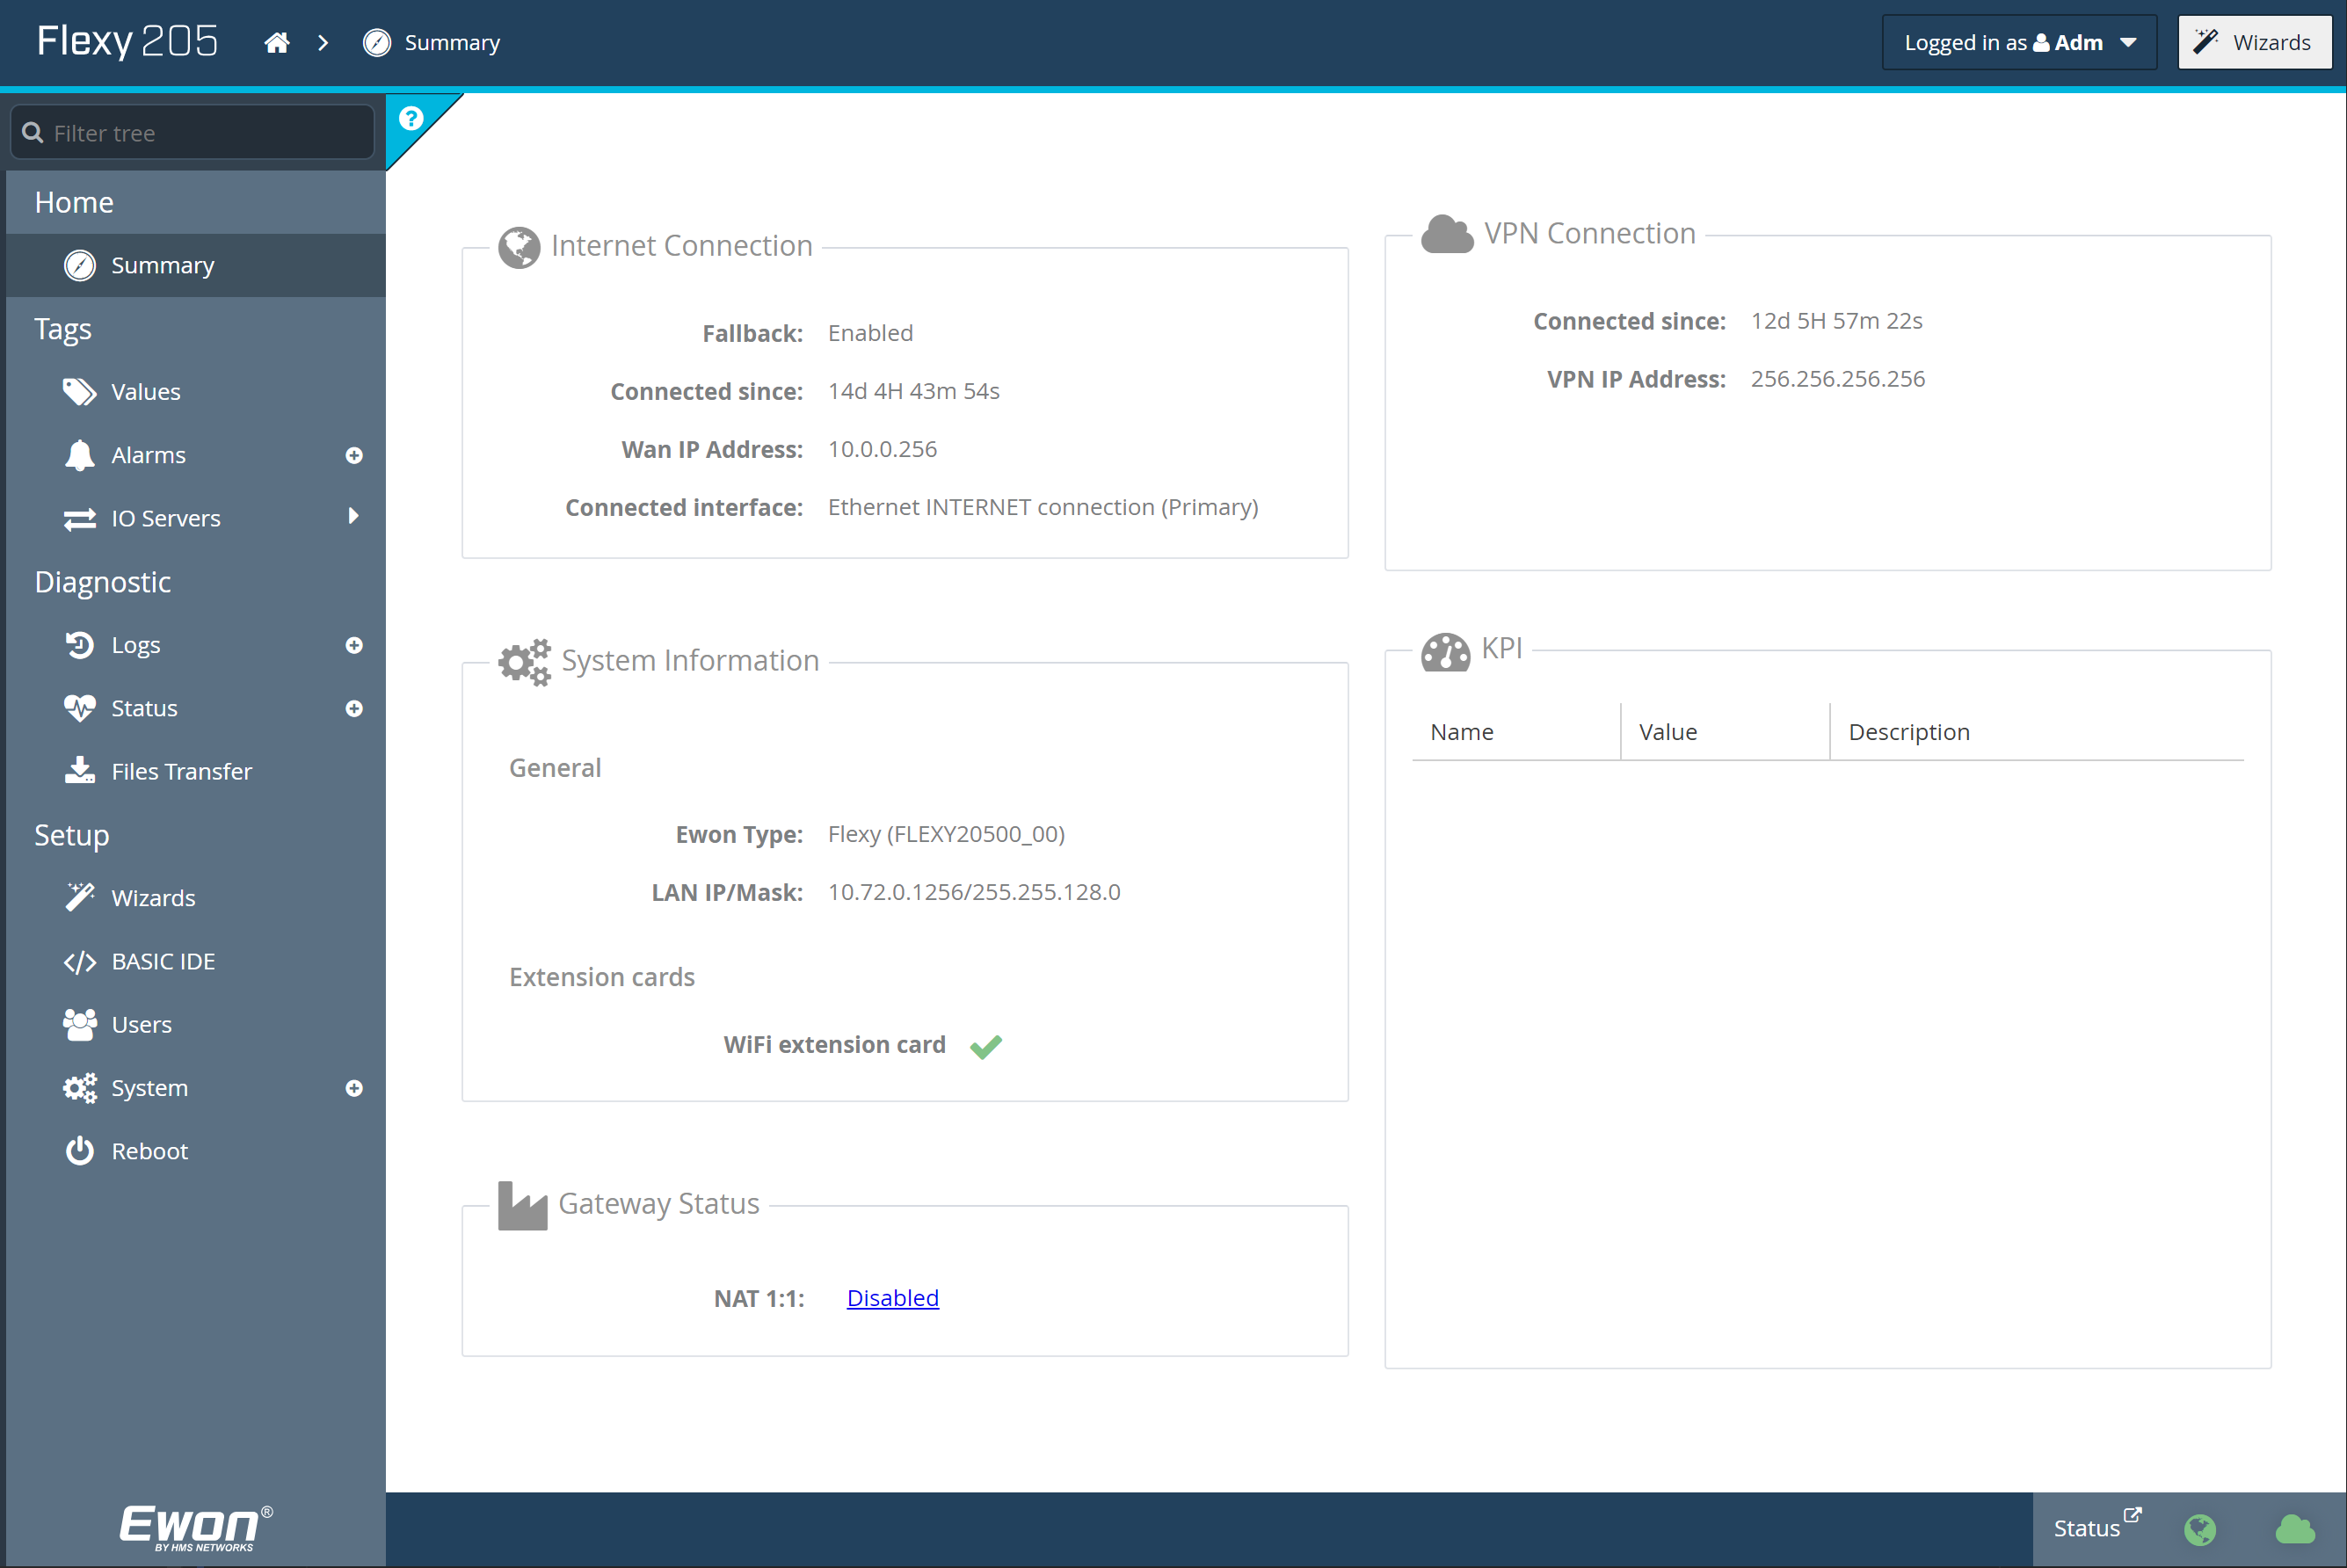
Open the Ewon web page.

Step 2
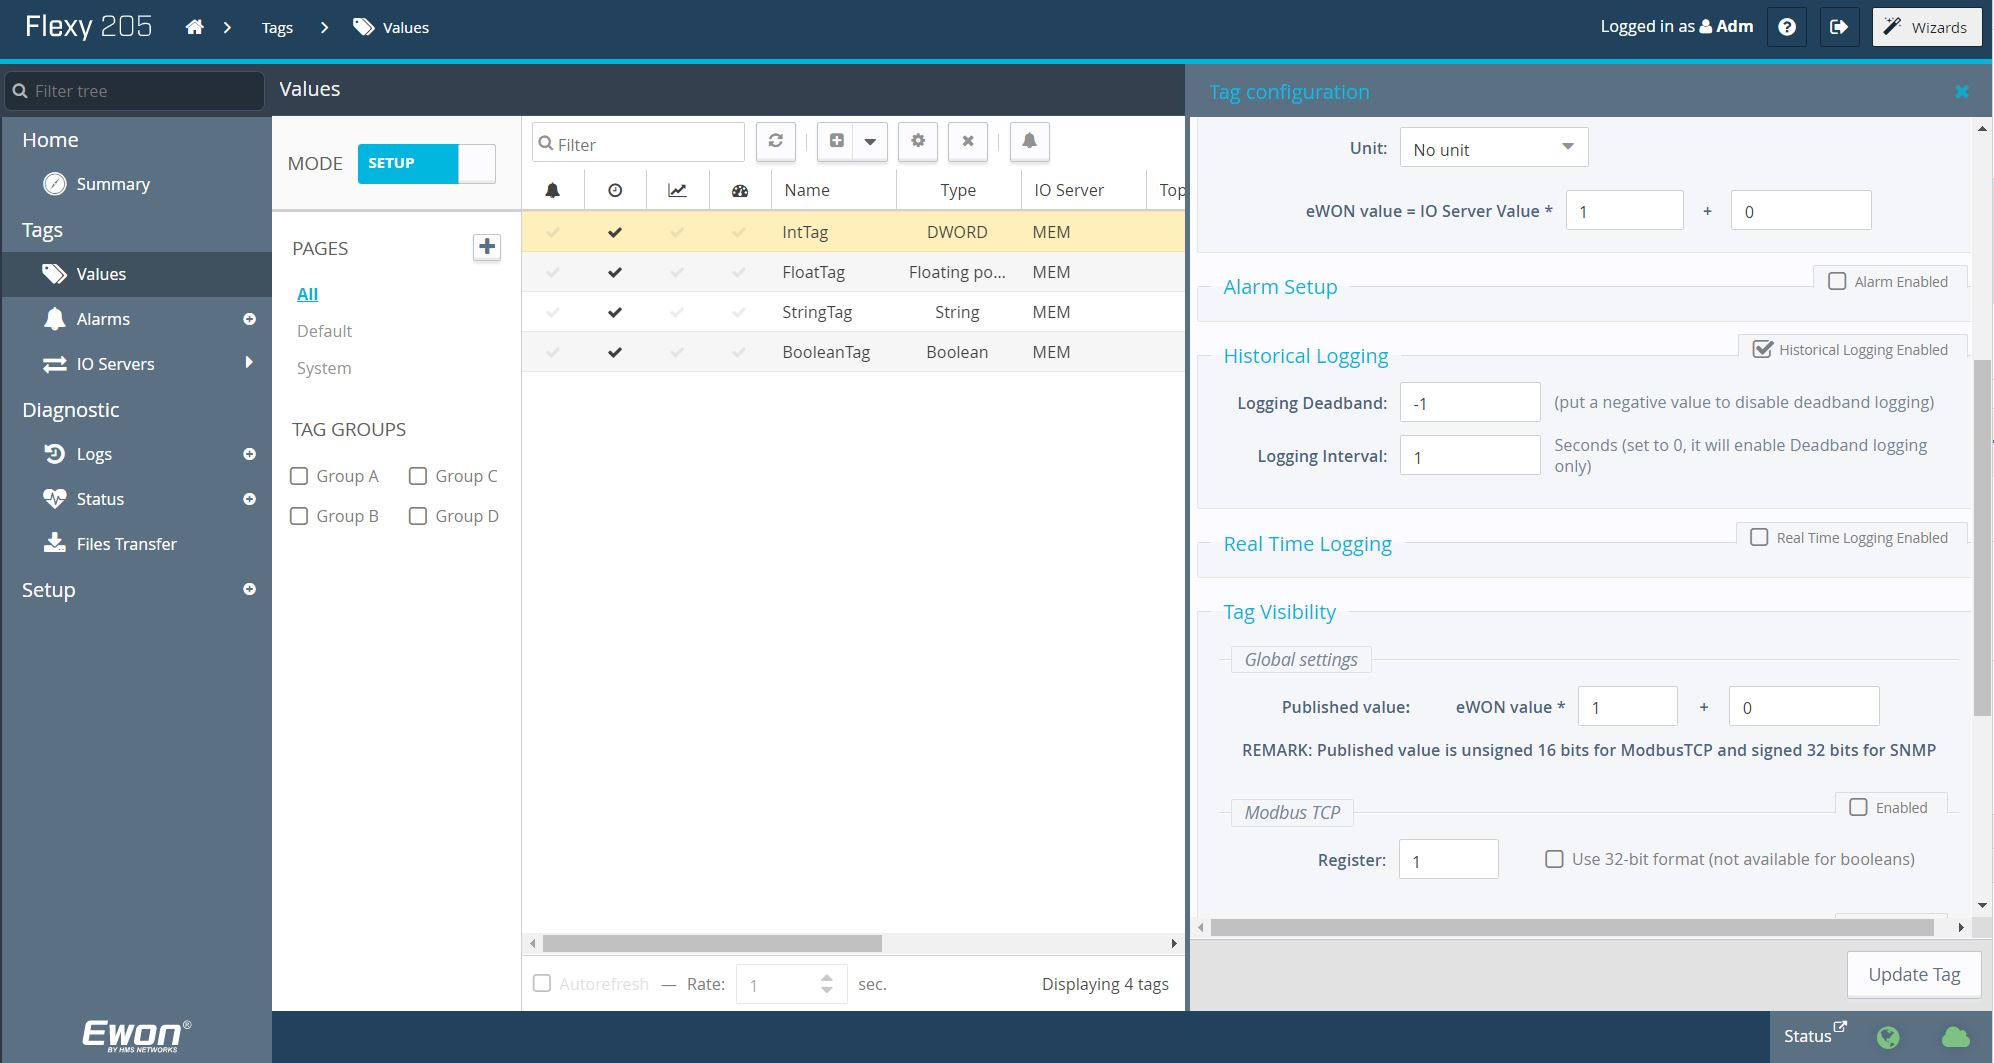
Navigate to the Values page (On the left-hand menu, click Tags > Values).
Step 3
Change the MODE to Setup.
Step 4
For each tag that requires logged data, double-click the tag to open the Tag configuration menu.
Step 4a
Scroll down to the Historical Logging section and check the Historical Logging Enabled checkbox.
Step 4b
In the same Historical Logging section, enable either deadband or interval logging.
The Logging Deadband field triggers logging when the tag's value changes by a particular amount. For example, a logging deadband of 2 means that a tag will be logged when the value changes by 2 or more. A negative value in the logging deadband field disables logging on value change.
The Logging Interval field triggers time-based logging. For example, a logging interval of 60 means that the tag will be logged every 60 seconds. A logging interval of zero (0) disables time-based logging.
Step 4c
Once configured, click Update Tag on the bottom right of the page.

Step 5
Once all tags have been configured, you may proceed to the next section.
You may change the MODE back to View to see the tag values once you are done configuring the
tags.
Connector Configuration
The connector configuration is a JSON file stored in the Ewon /usr/ directory with the filename "CanaryConnectorConfig.json". To make any configuration changes, modify CanaryConnectorConfig.json and ensure changes are saved to the /usr/ directory of the Ewon Flexy.
I. Populate the Configuration File
Step 1
Open an FTP connection to the target Ewon device.
Step 2
Navigate to the /usr folder on the Ewon device's file system.
Step 3
Open the previously uploaded "CanaryConnectorConfig.json" file for editing.
Depending on the FTP client used, you may need to download the file to your local machine to edit it. Once edited, you may upload the file back to the Ewon device.
Step 4
Populate the configuration file with the required fields. See the Configuration section for more information.
Step 5
Save the file and close the FTP connection.
If you previously downloaded the configuration file to your local machine for editing in steps 3-4, you will need to upload the file back to the Ewon device to save the changes.
Step 6
Restart the Ewon Flexy device to apply the configuration changes to the connector.
Step 7
Once the Ewon Flexy has restarted, the configuration process is complete and the connector will begin sending data to the configured Canary server.
II. Configuration File Fields
General
This section contains configuration fields which are used to configure the connector.
LogLevel
Parameter to configure the logging level used in the Ewon Flexy's realtime logs.
| Logging Level | Description |
|---|---|
| 0 | Logs disabled |
| 1 | Include only critical logs |
| 2 | Includes serious logs as well as logs from level 1 |
| 3 | Includes warning logs as well as logs from level 1-2 |
| 4 | Includes info logs as well as logs from level 1-3 |
| 5 | Includes debug logs as well as logs from level 1-4 |
| 6 | Includes trace logs as well as logs from level 1-5 |
QueueEnableDiagnosticTags
Parameter to enable and monitor a set of diagnostic tags for the historical data queue. These tags are automatically created and are used to monitor the health of the historical data queue by displaying a heartbeat with the number of times the queue has been accessed, a trigger to reset the queue time tracker, and the number of seconds which the queue is running behind by.
QueueEnableStringHistory
Parameter to configure if string history data should be retrieved from the queue. String history requires an additional EBD call in the underlying queue library, and will take extra processing time, especially in installations with large string tag counts.
Utf8StringSupport
Parameter to enable support for tag names with UTF-8 encoded characters.
QueueDataPollSizeMins
Parameter to configure the data poll size (in minutes) of each data queue poll. Changing this will modify the amount of data checked during each poll interval.
QueueDataPollIntervalMillis
Parameter to configure the maximum speed that the historical data be polled for new data points to send.
QueueDataAggregationPeriodSecs
Parameter to configure the aggregation period (in seconds) for data points processed from the historical data queue.
A value of "-1" indicates that data aggregation is disabled.
QueueDataPollWarnBehindTimeMins
Parameter to configure how many milliseconds the data queue will be able to fall behind real time before warnings are logged.
QueueDataPollMaxBehindTimeMins
Parameter to configure the data poll maximum behind time (in minutes). Changing this will modify the maximum number of minutes which the historical queue data polling may be running behind by.
A value of -1 disables this functionality.
Canary
This section contains configuration fields which are used to configure the connection to Canary.
API
This section contains configuration fields which are used to configure the API connection.
Url
Parameter to configure the URL in the following format:
"https://<USER-DOMAIN>:<PORT_NUM>/"
SenderApiVersionNumber
Parameter to configure the sender API version number.
ReceiverApiVersionNumber
Parameter to configure the receiver API version number.
HistorianServerName
Parameter to configure the name for the historian(s) where data will be stored.
If multiple historians are in use, names should be in a comma separated list.
ApiClientId
Parameter to configure the ID to be used as the dataset name for data coming from this device.
The following variables can be used in this parameter:
- %SERIALNO% - The serial number of the Ewon Flexy
- %EWONNAME% - The device name of the Ewon Flexy
For example, the following would be a valid ApiClientId:
"Flexy-%SERIALNO%"
This is an optional parameter. If not specified, the device name will be automatically generated using the Ewon's serial number, using the following format:
"Flexy-%SERIALNO%"
It is recommended to use the device name as the ApiClientId when defining this parameter.
ApiClientTimeoutSeconds
Parameter to configure the timeout time in seconds for the API session token.
It is recommended to use a large timeout to allow the session to be maintained.
600 seconds would be an appropriate value.
FileSizeMegabytes
Parameter to configure the number of megabytes a Canary Historical Database (HBD) file can grow to before the it rolls over.
AutoCreateDatasets
Parameter to configure if the historian should create new datasets for tags that specify datasets that do not exist in the historian.
AutoWriteNoData
Parameter to configure whether the Canary historian inserts a "No Data" quality 1 tick after the last value when a session is closed.
ExtendData
Parameter to configure whether the Canary historian should extend the data if a session remains open but no new data is received.
InsertReplaceData
Parameter to configure whether the Canary historian should insert data if the data is older than the newest value in the historian.
QueueDataPostRateMillis
Parameter to configure the maximum data post rate in milliseconds.
Auth
This section contains configuration fields which are used to configure the authentication.
UserName
Parameter to configure the user name for authentication against the Canary API endpoint.
This is a required parameter.
UserPassword
Parameter to configure the user password for authentication against the Canary API endpoint.
This is a required parameter.
III. Default Configuration File
If no configuration file is detected, a default configuration file will be generated to match what is shown below:
{
  "General": {
    "LogLevel": 3,
    "QueueEnableDiagnosticTags": false,
    "QueueEnableStringHistory": false,
    "Utf8StringSupport": false,
    "QueueDataPollSizeMins": 1,
    "QueueDataPollIntervalMillis": 10000,
    "QueueDataAggregationPeriodSecs": -1,
    "QueueDataPollWarnBehindTimeMins": 4,
    "QueueDataPollMaxBehindTimeMins": 10
  },
  "Canary": {
    "Api": {
      "Url": "https://<USER-DOMAIN>:PORT_NUM/",
      "SenderApiVersionNumber": "v1",
      "ReceiverApiVersionNumber": "v2",
      "HistorianServerName": "localhost",
      "ApiClientId": "%EWONNAME%",
      "ApiClientTimeoutSeconds": 60,
      "FileSizeMegabytes": 8,
      "AutoWriteNoData": false,
      "ExtendData": true,
      "InsertReplaceData": false,
      "AutoCreateDatasets": true,
      "QueueDataPostRateMillis": 3000
    },
    "Auth": {
      "UserName": "<USER-NAME>",
      "UserPassword": "<USER-PASSWORD>"
    }
  }
}